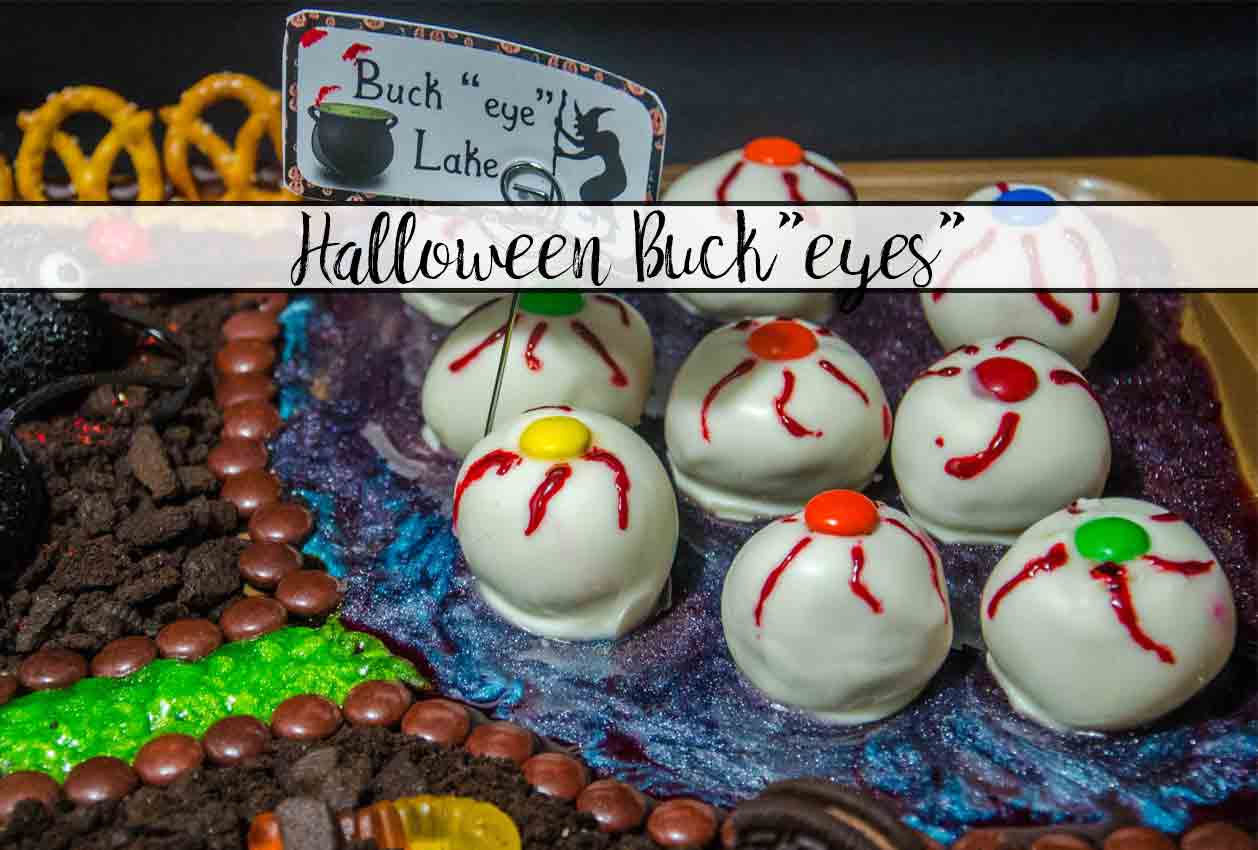
Everyone loves buckeyes. Well, I can’t verify that. I can verify I’ve never MET anyone who doesn’t love buckeyes. And these Halloween Buckeyes are just as delicious as the original…but are a little creepy and perfect for Halloween.
Last year, I made a giant edible Halloween Landscape that was fabulous!
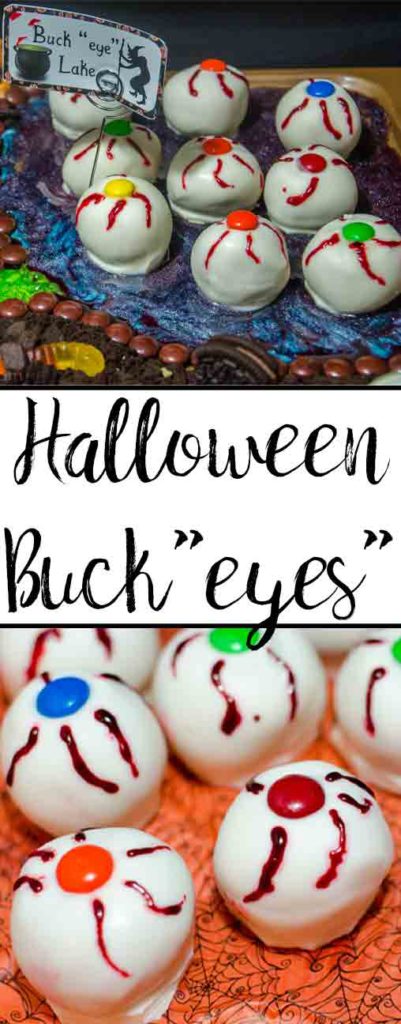
It consisted of a chocolate brownie castle, red velvet & dark chocolate cake bites made into spiders, strawberry and white chocolate cream cheese mummies, peanut butter white chocolate ‘ghosts,’ and the buck”eyes” below.
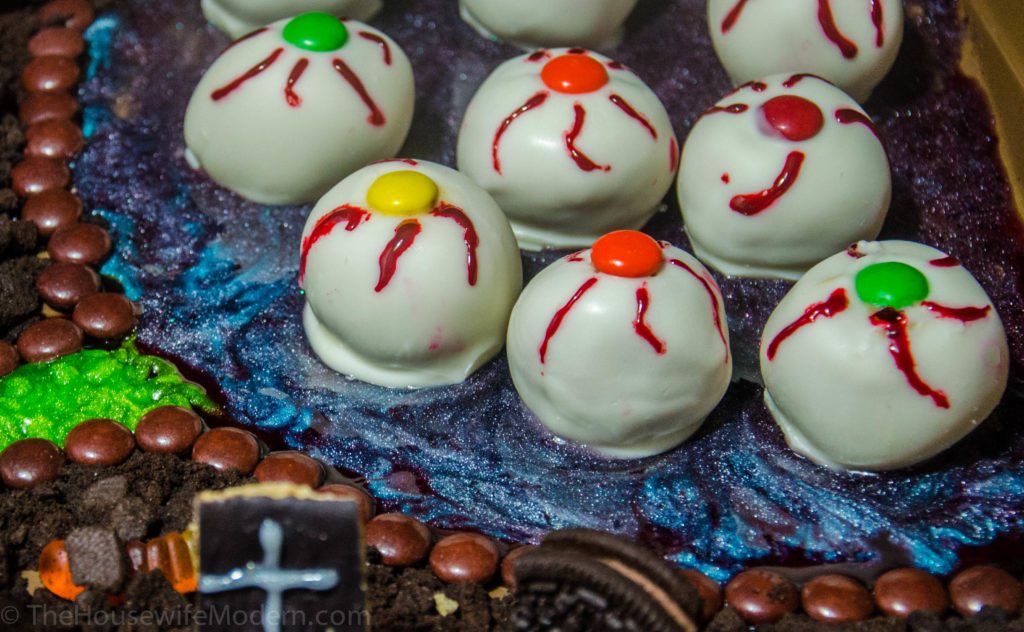
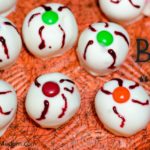
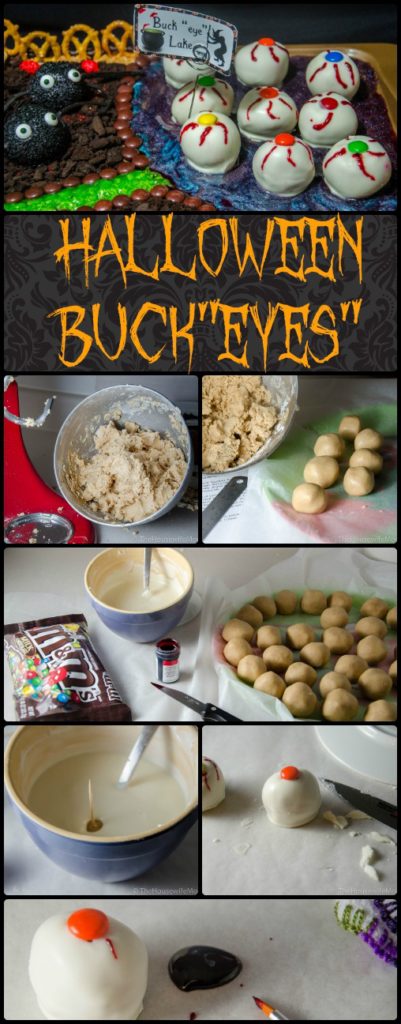
These are called Halloween buckeyes for two reasons. First, they are (obviously) decorated creepily for Halloween. Second, you have set aside a few for yourself (hide them!) because these buck”eyes” do their own Halloween trick and disappear quickly. Step-by-step pictures are below!
For more labels like the one in the “buckeye lake” below, check out the post “Free Printable Halloween Labels: Multiple Sizes, Multiple Designs.”

If you’re getting ready for Halloween, you have to check out my printable Halloween Binder.
It has EVERYTHING you need for a fabulous holiday. It’s 150+ pages and includes:
• Organizing- calendars, costume planner, etc.
• Party planner
• 15+ different games
• Decor (banners, wall art, food & drink wrappers, cupcake toppers, and more)
• Halloween & pumpkin recipes
Prep the Day Before
Finishing & Decorating


Halloween Buck”eyes”
Ingredients
- 1 lb. creamy peanut butter
- 2 sticks unsalted butter
- 1 & 1/2 lbs. powdered sugar
- white candy melts
- M&M’s
- Red food dye
- Small paintbrush/decorating tool
Instructions
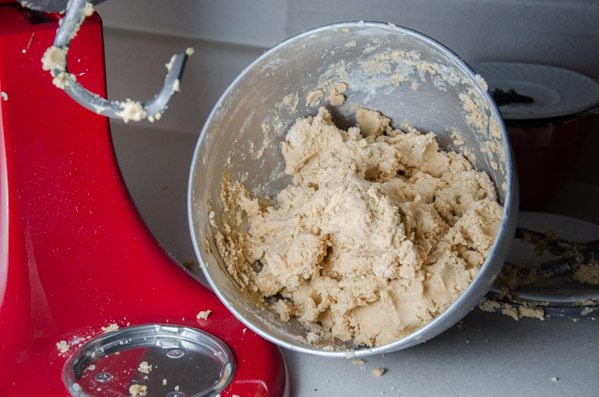
- Mix the peanut butter, butter, and sugar together. Mixture will be crumbly (like PlayDough).
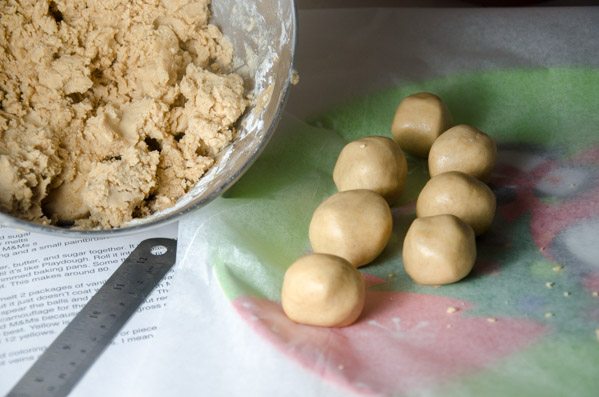
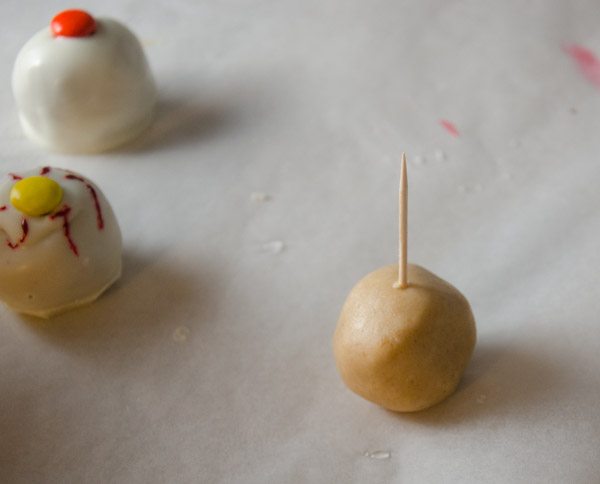
- Roll into 1” balls. Place on waxed paper & place in refrigerator overnight.
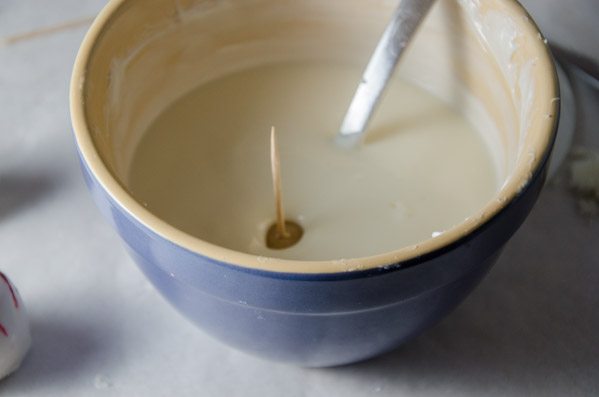
- Melt the chocolate. A microwave works perfectly fine, you don’t need a double-boiler. Heat for 30 sec. at 50% power. Stir well. Even if nothing looks melted, stir the wafers.
- Continue to heat at 30 second increments, always 50% power, until chocolate melted. Stir well between each heating cycle. (Feel free to stir and let it sit a minute or so, then stir even more. You would not believe how much the chocolate will melt as you stir (as the heat gets distributed). Always error on the side of waiting a bit before another heating cycle. Your bowl should never be too hot to touch with your bare hands.)
- After the chocolate is mostly melted, dump in another handful of wafers. Stir them in, using the heat already in the chocolate and bowl to melt them. Keep stirring…they will melt. If necessary, heat 10 seconds at 50% power.
- Poke a toothpick into chilled peanut butter/butter/powdered sugar balls. Dip into melted chocolate.
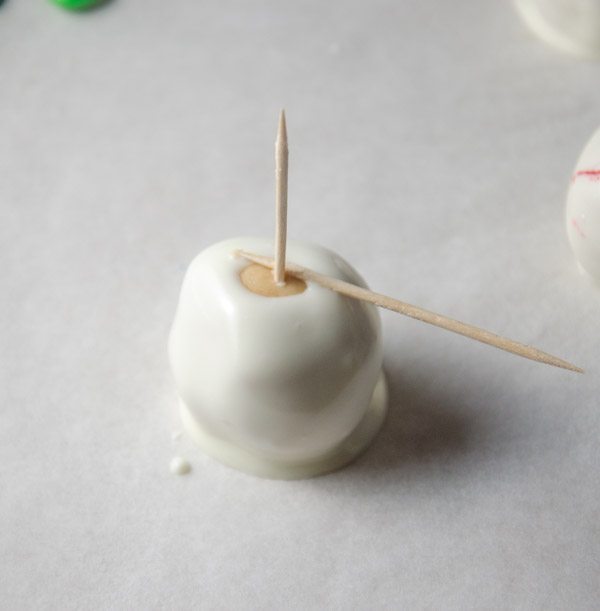
- Place onto waxed paper. Using a second toothpick, gently remove original toothpick from peanut butter ball.
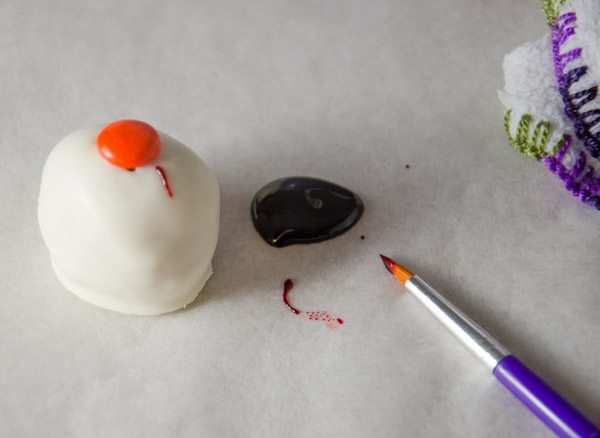
- Drizzle a tiny bit of chocolate onto top. Gently push an M&M into top. Let set.
- Repeat with all remaining buckeyes.
- After they set, gently trim any excess around the bottom of the dipped peanut butter ball. Smooth with edge of toothpick or finger if a bit rough.
- Using fine toothbrush, drizzle red dye onto balls and make veins. A “brush” motion actually leaves it too thin (it turns pink), drizzling works better. Doesn’t need to be perfectly neat. (Moving from this point forward, be very careful. The red dye doesn’t really dry, it sticks to fingers & smears.)
- Very last step- it’s very important!– set aside a few for yourself (hide them!) because these buck”eyes” do their own Halloween trick and disappear quickly.
Notes
What did You Think?
What did you think of these Halloween Buckeyes? Please feel free to rate the recipe using the little stars on the recipe card.
Could you do me a quick favor? If you enjoyed this post, could you share it with your friends? Share buttons are at the top.
Leave a Reply