My husband loves salmon. I dislike the price, but I like a happy husband. And I can admit it tastes pretty good. Especially when I make my “Roast Salmon w/ Bell Pepper-Tomato Vinaigrette.”
The only annoyance is those little bones running in a line down the entire fillet. For those who are curious, they’re “floating” bones (aka- not attached to the skeleton) called ‘pin bones.’ They’re not dangerous; they’re fairly soft. You can leave them in. But ascetically- and to the happiness of your guests- it’s easiest to remove them pre-cooking.
First things first. Do NOT buy any special equipment. Ignore the overwhelming urge to waste money on a pair of “fish tweezers.” Use either regular tweezers or needle-nose pliers. I use the pliers.
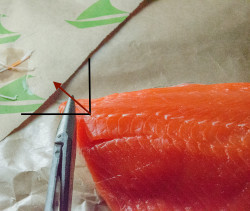
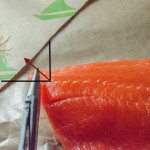
Second- pull at a 45° angle. Yep, that is the secret. Firm, gentle pressure pulling at a 45° angle. Don’t try to cut them out. Don’t yank them straight up. Or straight out.
-

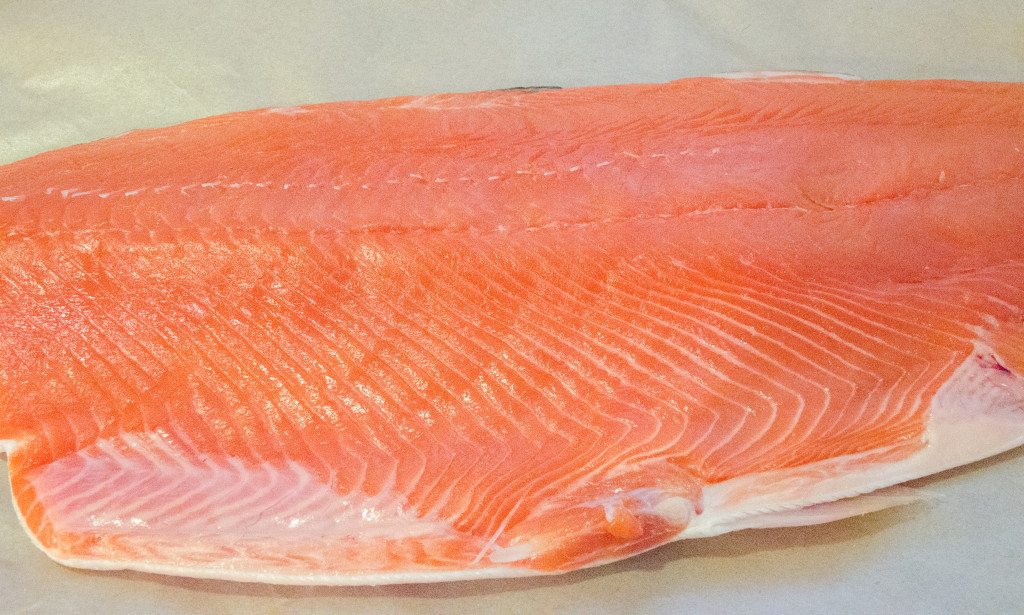
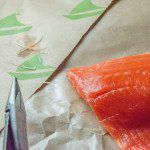
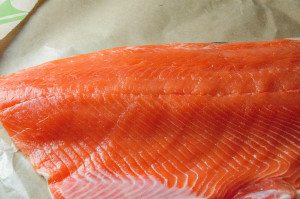
- Salmon before
-

- Pin bones running up fillet
I know it’s a fairly straight-forward process, but I went ahead and photographed it. Step-by-step pictures are much easier than trying to figure out written instructions while your hands are covered in fish juice.
-

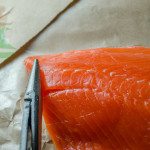
- Grasp end of bone firmly with needle nose pliers.
-
- Remember to remove bones at 45° angle!
-
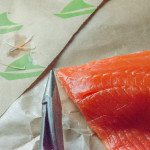
- Pull gently; never tear the fish.
-
- If you meet resistance, change angle or wiggle bone slightly.

-
- One pin bone almost completely removed. Much longer than one might guess.
-

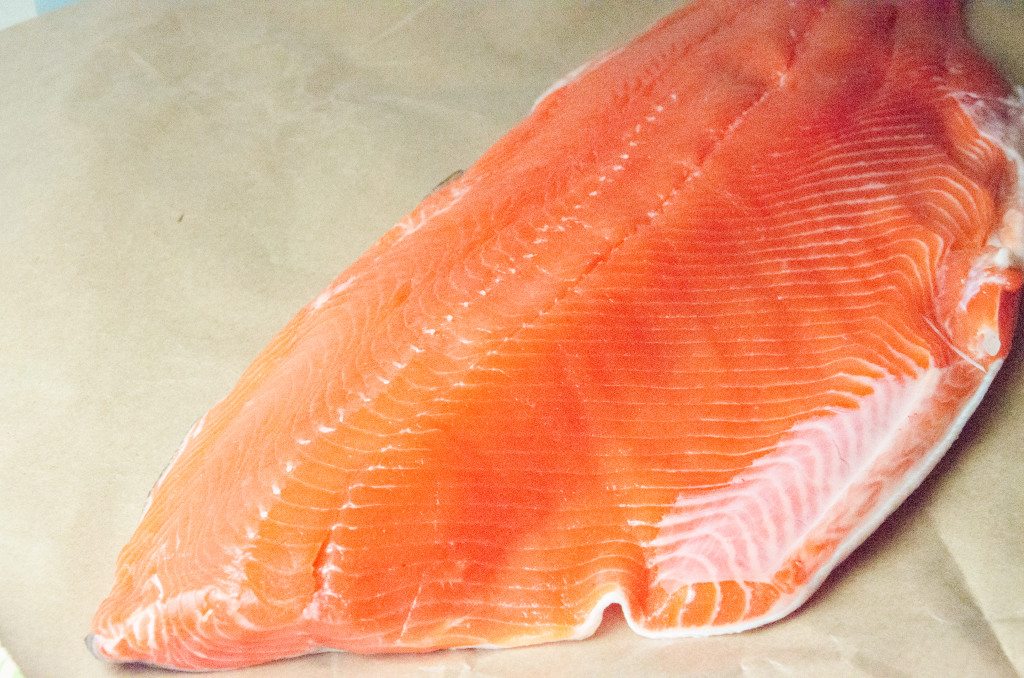
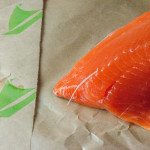
- Beautiful fillet after pin bones removed

-

- Not torn; perfect
Forgive the less than stellar formatting on this post! I’m still learning!
Leave a Reply