This originally started as a single post. Then I discovered so much information, did so much testing, and researched so much that it has now become three posts. This post (Part 1) is going to go through all of the questions and answers that pop up during making cake pops. This post is before the actual directions because this info is helpful to know before making your first cake pops. I wish I had known half of this before I dunked my first mediocre cake pop into scorched chocolate.
Part 2 is “How to Make Perfect Cake Pops: Recipe, Instructions, & Step-by-Step Pictures.”
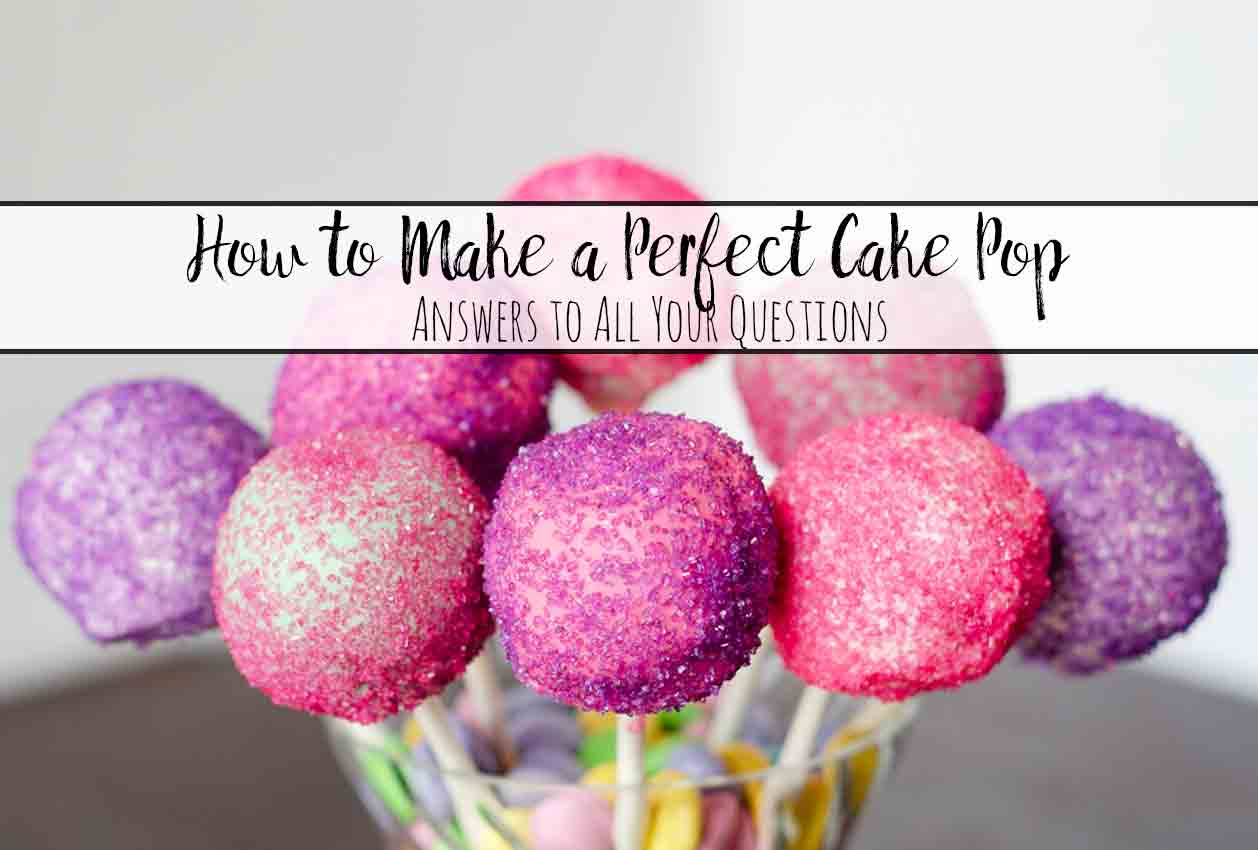
I’ve tried out different cakes, different frostings, different mixing methods, different chocolates, adding extra stuff, dipping methods, etc. And I finally have “The Perfect Cake Pop.” or “The Perfect Cake Bite” if you prefer them (which I do).
Below are answers to every question that comes up when making cake pops. What cake to use. What frosting to use. How to melt the chocolate. What chocolate to use. How to dip them. How to decorate them.
~~~~~This post contains some affiliate links for your convenience (which means if you make a purchase after clicking a link I will earn a small commission which helps keep my blog up and running but it won’t cost you a penny more)! Click here to read my full disclosure policy.~~~~~
Question: Should I use boxed cake mix or homemade cake?
Answer: I’ll settle this on the side of boxed cake mix…but include the variations for making it taste like it was made from scratch (See “How to Make Boxed Cake Mix Taste Like From-Scratch“). The reasoning: it will still taste great, but you’ve got a great “base” flavoring for your cake pops (spice, strawberry, lemon, etc.). Plus, as I’m crumbling it up, I hate to do that with a cake I’ve just spent 2-3 hours making! I also did blind taste tests…no one could tell the difference between boxed and homemade.
Question: Should I use homemade frosting or store-bought?
Answer: Homemade. Hands down. It resulted in not only a better tasting cake pop, but the texture was better also. On the plus side, you can make the frosting ahead and either chill or freeze it. (The frosting I use most often is “White Chocolate Cream Cheese Frosting“). When you need to use it, pull it out, place in mixer, and give it a quick whip (add a tablespoon of milk if needed).
But if you must, for some reason, use store-bought frosting, you can make it a bit better. Mix in a teaspoon or so of good-quality vanilla extract; whip them together well. Doesn’t quite taste homemade, but it’s better.
Question: How do I prepare the cake after it’s baked?
Answer: Don’t just crumble it up. First, cut off the edges. Scrape off a very thin layer of the top. Then crumble it up very well. Some people recommend a food processor. That seems like a lot of washing equipment when my bare hands work just fine. Below are two pictures that show cake balls made from two different cakes: one with the edges and top scraped off, the other with the entire cake. The difference is amazing.

Question: How much frosting do I mix in?
Answer: I usually use 1/2 cup of frosting for a full cake (one that has had sides and top trimmed off). I often freeze extra frosting from other projects and just thaw it out for cake pops. There are a couple examples of proper texture below…you want it sticky enough to form into balls, but not wet/sticky from too much frosting.

Question: Do I have to buy a special gadget to form the cake balls? I’ve seen them online.
Answer: NO! Your hands are perfectly sufficient. Don’t waste your money on any special equipment.
Question: Chill right after mixing the cake and frosting together? Or form balls and then chill them?
Answer: I’ve tried both…and the answer is very, very simple. Form into cake balls and then chill them. Trust me.
Question: How big should they be? How do I make them?
Answer: I make them approximately 1″ diameter. I don’t use a scoop, I just eyeball it. As you line them up, you’ll notice if they get too big or too large.
To form: scoop up enough mix to make 1″ to 1 & 1/2″ ball, squash it together, then roll the ball back and forth between your hands. This will do a few things:
• If your mix doesn’t have enough frosting to hold it together, the rolling will cause it to crumble apart. Better to find out now.
• Makes a perfectly round shape.
• Provides a very smooth outside for dipping.
Question: How do I chill them? Fridge or freezer?
Answer: Despite what you may have read elsewhere, do NOT put them in the freezer. They need to be refrigerated at least two hours. Longer won’t hurt. If you put them in the freezer, even if you set them out long enough for the outside to come closer to room temperature (to prevent chocolate from clumping or cracks forming); the inside is still going to slowly thaw. And expand. And then crack them two or three hours later.
Question: What kind of chocolate do I dip them in?
Answer: This is THE debate among individuals. I’ve tried out the three “major” brands as well as a fourth one that I found. Here are the results:
• Merkens (hot pink below)- without a doubt, your best option. Chocolate is nice and thin, allowing for a good thin coat that drys quickly. The taste is also superior to the other ones, except perhaps Wilton. And the color was fantastic! The only downside is that I have to buy it online. It’s not in stores where I live. However, it will be the only one I use in the future. In fact, I’ve already ordered some more.
>>>>Click here to check out Merkens prices and options!<<<<
• Wilton (red below): this came in second place. The major problem with this brand is that even with mixing in with suggested paramount crystals to thin it (1-2 Tbsp. to 1 lb. chocolate ratio), it was still too thick (However, see below for more on paramount crystals). However, with certain projects, such as my Thanksgiving Turkey Cake Pops, where I need the pop to hold up a heavy cookie, this is actually a good thing. And like I said, taste is great.
>>>>Click here to check out Wilton prices and options!<<<<
•Make ‘N Mold (pale pink below)- Average taste. Same problem with thick chocolate. I added probably 4 Tbsp. paramount crystals. While it improved it, it still was a difficult chocolate to work with. Taste was only average.
•Choco Maker (white below)- Taste was so bland it was noticeable. I mean the blandness overwhelmed the taste of the cake! It dipped well; as good as the Merkens, but the taste makes it impossible to use.
Below are pictures of the different results.
There are also many other brands. Most are speciality brands that are harder to find. “Share Dessert Company” recommends Guittard Vanilla A’Peels or Guittard dark or milk chocolate wafers. I’ve never heard of them, but the site seems to be pretty good. If you run across them, it might be worth trying.


Question: How do I melt the chocolate? Double boiler? Microwave?
Answer: You do NOT need a double boiler. (Yay!) A microwave works perfectly. But you need to take care when melting, no matter what the method.
• Heat for 30 sec. at 50% power. Stir well. Even if nothing looks melted, stir the wafers.
• Continue to heat at 30 second increments, always 50% power, until the chocolate is melted. Stir well between each heating cycle. Feel free to stir and let it sit a minute or so, then stir even more. You would not believe how much the chocolate will melt as you stir (as the heat gets distributed). Always error on the side of waiting a bit before another heating cycle. Your heating cycle should still have lumps of unmelted chocolate when you first pull it out of the microwave before you stir.
• After the chocolate is mostly melted, dump in another handful of wafers. Stir them in, using the heat already in the chocolate and bowl to melt them. Keep stirring…they will melt. If necessary, heat 10 seconds at 50% power.
• Do NOT overheat. It is a bit counter-intuitive: normally if you heat something up, it becomes runnier. However, with this, if you heat it too long, it scorches, clumps, and becomes less runny. Chocolate scorches very easily.
Question: HOW do I dip them? Dunk? Twist? Roll? Drizzle?
Answer: This is going to come down to personal preference and practice. Some swear by one method, others by a different method. What has worked best for me is drizzling. But I’m going to describe them all below. See what works for you.
First, remove the cake pops from the fridge and let sit at room temperature for a few minutes. This both lets them warm up slightly and lets the chocolate cool slightly. A large temperature differential is the #1 reason for cake pops cracking. This is especially true if you’re doing those “thin, perfect” coats.
Dip the end of the lollipop stick in a bit of chocolate. Insert lollipop stick into chocolate. Then use preferred method. Some sites say put them back in the fridge for a few minutes to allow it to “set”…but I have never done this and never had a problem.
• Dunk method: SugerKissed.net and Craftsy have a fairly simple method. I haven’t found it to work, but as I said, everyone has their own preference.
Dip each chilled cake pop straight down into the melted coating until the cake ball is completely covered and sealed. If you need to angle the cake pop, gently tilt it in one direction and then another. Resist the temptation to stir the coating with the cake pop. If you do, your cake pop may fall off of the stick into a candy coating abyss.
Remove the cake pop from the melted coating by pulling it straight up. Then, turn the cake pop at an angle and gently tap off any excess coating. Don’t get fancy, keep it simple.
Use finger or toothpick to remove any excess coating off the cake pop near the lollipop stick.
• Twist/roll method: Bakerella, THE inventor of cake pops will explain this method in her own words:
Once firm, carefully insert the cake ball into the candy coating by holding the lollipop stick and rotating until covered. Once covered remove and softly tap and rotate until the excess chocolate falls off. Don’t tap too hard or the cake ball will fall off, too.
Her method is the one that has worked best for me. If the drizzle doesn’t work, try hers. And check out her website.
(I sometimes have to drizzle down near the lollipop stick, but her main rotate method is your best bet.)
• Drizzle method: Hold the cake pop horizontally over the bowl of chocolate. Use a spoon to drizzle the chocolate over the cake pop, slowly turning stick. After cake pop is coated, tap gently on side of bowl to allow any excess chocolate to fall off. Stand cake pop upright; use finger around base to remove any excess.
Question: What are paramount crystals? Do I need to buy them?
Answer: You do not need to buy them. BUT…if you’re going to use Wilton’s a lot (which you can…they taste great and you can buy them everywhere!), I would highly suggest it. The “recommended” amount of paramount crystals is 1-2 Tbsp. to 1 lb. of chocolate. I can tell you from extensive testing (see pics below), that you’re going to need more than that.
I ended up using 13 Tbsp. for the “perfect” level of thinness. I would NOT recommend adding that all at once. Maybe start with 3, then add by the 2 at a time until you’re at the right level. If it gets too runny, it won’t work either. (Watching chocolate slide right off a cake pop is amusing though).


Leave a Reply