In honor of celebrating National Devil’s Food Cake Day (May 19th), I decided to make some more cake bites!
Back to our Devil’s Food Cake. The origin of the term “Devil’s Food Cake” is varied. And what makes a devil’s food cake a devil’s food cake (versus a simple chocolate one) is debated. Currently, general consensus- at least according to more recent news articles- is the use of cocoa instead of chocolate; the addition of coffee to give it a richer flavor; and (usually) extra baking soda. If coffee isn’t used, the main liquid (milk or water) is heated before adding to cause the cocoa flavor to “bloom.”
If you want to read some of the history behind the term, visit “The Food Timeline” and scroll down to appropriate section.
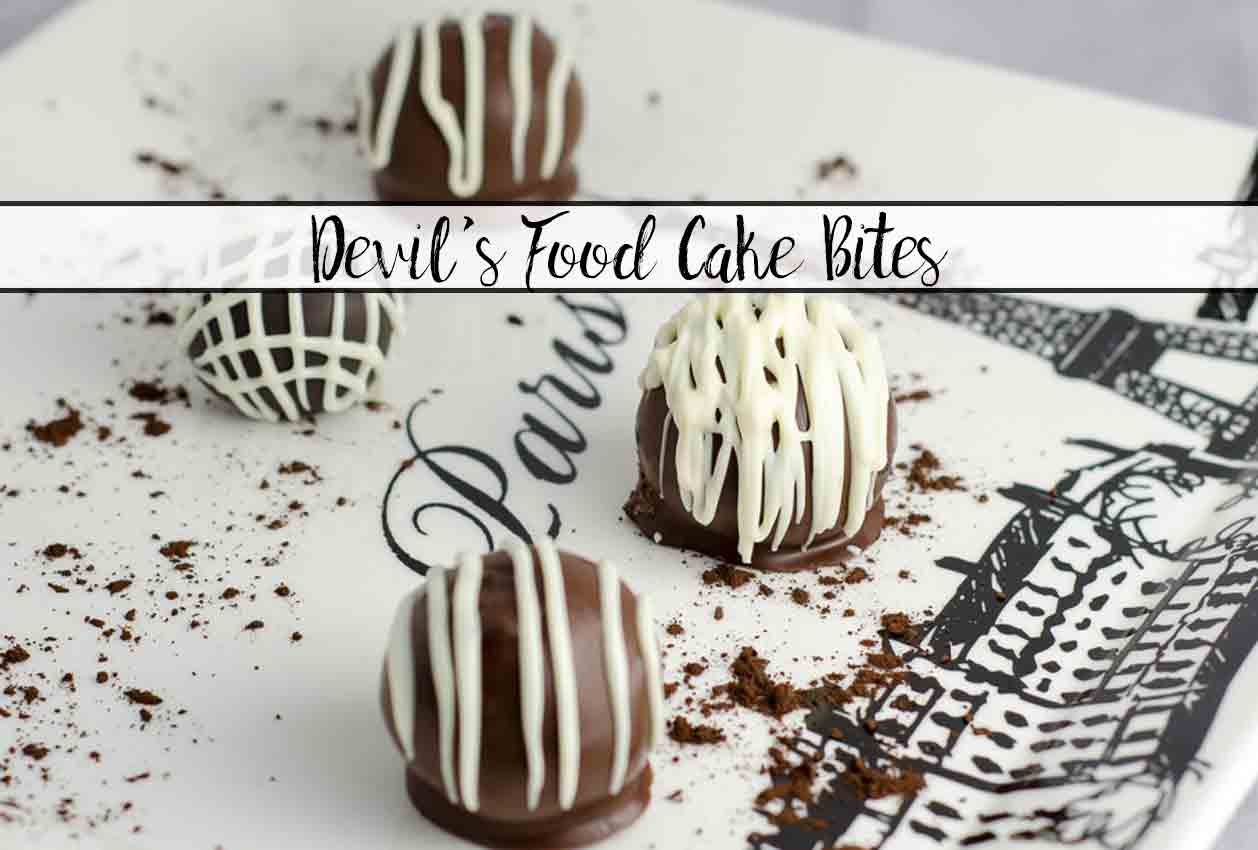
Now on to making our cake bites!
(Don’t the ones below make you want to reach through the screen?)
Don’t let the long post scare you. I’m very detailed with cake pops & cake bites.

As I always recommend for cake bites, I start with boxed cake mix. It gives you a great base flavor. But there are adjustments we’re going to do in order to make it taste better.
We’re going to substitute melted butter for oil.
Add an extra egg.
Add 1 tsp. cocoa powder.
And the big change: in place of water, substitute 1/2 C. hot coffee and 3/4 C. warmed milk. (Bonus points if you have chocolate coffee!).
For the frosting:
I got this recipe from “Cookies & Cups” (though I added extra powdered sugar). If you visit, for some reason their frosting turned out lighter than mine. Mine was deep, deep brown. Which was good/fine. Just wanted to note the difference. First time I’ve tried this recipe…and it was great! And easy. I think I have a keeper.
As always, you CAN use store-bought. But this is one area in cake pops where you can taste the difference- the frosting.
If you end up using store-bought frosting, you can make it a bit better. Mix in a teaspoon or so of good-quality vanilla extract and 1/2 tsp. cocoa powder. Whip them together well. Make sure you get the powder incorporated. Trust me, you would not believe the difference. Doesn’t quite taste homemade, but it’s better.


~~~~~This post contains some affiliate links for your convenience (which means if you make a purchase after clicking a link I will earn a small commission which helps keep my blog up and running but it won’t cost you a penny more)! Click here to read my full disclosure policy.~~~~~
For the chocolate coating & decoration:
Ghirardelli dark melting wafers
Ghirardelli white melting wafers
Disposable decorating bag~Note: I found these at Wal-Mart in the baking aisle. But you can also get them via the Amazon link. These are great because you put the unmelted chocolate in the bag, and put the bag in the microwave! Yep, no more melting, then transferring the chocolate.
If you don’t want to use Ghirardelli (or having trouble finding them), you can also use:
Merkins (dark) and Merkins (white). The consistency when they melt is perfect!
Wilton melting wafer. But if you use Wilton, make sure you thin the chocolate with paramount crystals.

Devil’s Food Cake Bites
Ingredients
For the cake:
- 1 box Devil’s Food Cake mix
- 1 tsp. cocoa powder not Dutch processed
- 3/4 C. milk
- 1/2 C. hot coffee
- 4 eggs
- 1/2 C. unsalted butter melted
For the frosting:
- 1/2 C. unsalted butter room temperature
- 1/3 C. boiling water
- 1/2 C. Hershey’s Special Dark cocoa powder
- 4 & 1/2 C. powdered sugar
- 1 tsp. vanilla extract
For the decoration:
- Ghirardelli dark melting wafers
- Ghirardelli white melting wafers
- small disposable decorating bag
Instructions
For the cake:
- Mix dry cake mix & cocoa powder together.
- Warm milk in small pan until small bubbles just start to appear around edges.
- Add hot coffee and warm milk to dry cake mix/cocoa powder. Mix slightly.
- Add eggs and butter. Continue mixing from there according to package directions.
- Bake according to package directions. Cool.
For the frosting:
- Mix all ingredients on low speed for 30 seconds. (I divided everything in half and layered the ingredients as I added them to the bowl; and poured the boiling water directly onto the cocoa powder).
- Increase speed to medium. Beat for 1-2 minutes until smooth.
To make cake bites:
- After the cake is cooled, don’t just crumble it up. First, cut off the edges. Scrape off a very thin layer of the top. Then crumble it up very well.- some people say to use a food processor…sounds like a lot of extra washing dishes to me. My fingers work fine.
- Mix approximately 1/2 cup of frosting into entire crumbled cake (sides and top removed). You want it to stick together (not crumbly), but you don’t want it “wet”.
- Scoop up enough mix to make a 1″ ball. Squash it together, then roll the ball back and forth between your hands quickly to shape as round as possible. This ensures: 1) you have enough frosting; if you don’t the rolling will cause it to crumble apart, 2) a perfectly round shape, 3) a smooth outside for dipping.
- Chill in refrigerator for at least 2 hours.
For the decorations:
- Melt the dark chocolate. A microwave works perfectly fine, you don’t need a double-boiler. Heat for 30 sec. at 50% power. Stir well. Even if nothing looks melted, stir the wafers. Continue to heat at 30 second increments, always 50% power, until chocolate melted. Stir well between each heating cycle.
- ~Note: Feel free to stir and let it sit a minute or so, then stir even more. You would not believe how much the chocolate will melt as you stir (as the heat gets distributed). Always error on the side of waiting a bit before another heating cycle.
- Do NOT overheat. It is a bit counter-intuitive: normally if you heat something up, it becomes runnier. However, with this, if you heat it too long, it scorches, clumps, and becomes less runny. Chocolate scorches very easily.
- Remove the cake balls from the fridge and let sit at room temperature for a few minutes. This both lets them warm up slightly and lets the chocolate cool slightly. A large temperature differential is the #1 reason for the chocolate coating cracking.
- After you’ve waited a few minutes: poke a toothpick in one of the cake balls. Dip it in the chocolate, coating it completely. Pull out of chocolate and set on parchment paper. Use another toothpick to hold down top, then remove toothpick. Use the toothpick to quickly “dab” some of the chocolate over the hole. As the chocolate is still melted, it will smooth out easily.
- Repeat with all the remaining cake balls.
- Let them set.
- Place the white chocolate wafers in the disposable bag and heat according to directions. Decorate as you wish!


These taste just like the ones at Starbucks, so good! 🙂
I can’t believe you stopped by, Danielle, to comment. Thank you, though! Now I can say (and have proof), they’re “Starbucks copy-cats”!
Jennie
They really are yummy! A perfected recipe!
Hello Gorgeous! This looks incredible! Thank you so much for sharing it with us. Pinned and tweeted. I hope to see you tonight at 7 pm, so we can party with you! Lou Lou Girls